
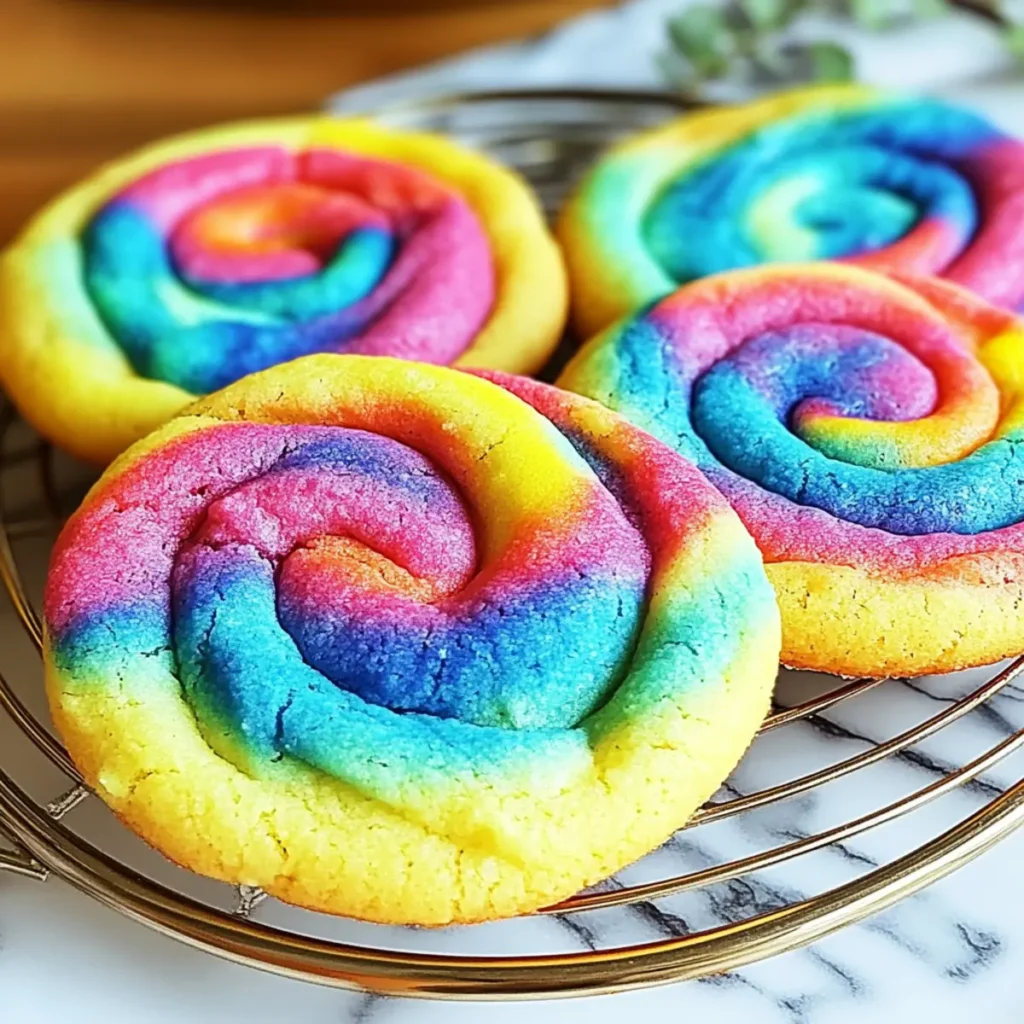
There’s something undeniably magical about baked goods, especially when they’re as vibrant and fun as Tie Dye Cookies. Imagine pulling a tray of these colorful delights from the oven, the air filled with the sweet aroma of vanilla and warm butter, and your heart just doing a little happy dance. The swirl of colors sparkles in the light, and with each bite, you get a warm, gooey explosion of chocolate and flavor. These cookies are not just treats; they’re a celebration waiting to happen!
Think of all the occasions where Tie Dye Cookies can steal the spotlight: birthday parties, family get-togethers, or even an exciting movie night with friends. The stunning visuals and mouthwatering tastes ensure they’re not just devoured but cherished as part of the moment. So, get ready to mix your way to a rainbow of flavors and joyful memories.
Why You'll Love This Tie Dye Cookies
- These incredible Tie Dye Cookies transform simple everyday ingredients into restaurant-quality flavors that will blow your mind completely.
- Foolproof recipe techniques guarantee perfect results every single time, making even novice cooks feel like professional chefs instantly.
- Stunning visual appeal with gorgeous colors and mouthwatering aromas creates the ultimate Instagram-worthy dish for any special occasion.
- Endlessly adaptable for different dietary needs while working beautifully for meal prep, date nights, or entertaining large groups effortlessly.
Ingredients for Tie Dye Cookies
Here’s what you’ll need to make this delicious Tie Dye Cookies:
2 1/4 cups all-purpose flour – The foundation of the cookies that gives them that soft, chewy texture we all love.
1 cup granulated sugar – For sweetness and that delightful crunch on the edges.
1/2 cup brown sugar, packed – Adds moisture and a hint of caramel flavor to each bite.
1 cup unsalted butter, softened – The heart of these cookies, lending richness and flavor. Remember to let it sit out for a bit to reach room temperature!
2 tsp vanilla extract – Adds depth and that comforting aroma that feels like home.
2 large eggs – These are the binding agents, ensuring your cookies hold everything together perfectly.
1 tsp baking soda – The magic rising agent that gives cookies their perfect softness.
1/2 tsp salt – Just a pinch to enhance all those lovely flavors.
1 cup semi-sweet chocolate chips – Because no cookie is complete without chocolate! Feel free to mix it up with milk or dark chocolate as you see fit.
Food coloring (variety of colors) – This is what will make your cookies pop with color and fun!
How to Make Tie Dye Cookies
Follow these simple steps to prepare this delicious Tie Dye Cookies:
Step 1: Preheat the oven
Preheat your oven to a warm and inviting 350°F (175°C). While it warms up, line two baking sheets with parchment paper to guarantee a non-stick surface.
Step 2: Cream the sugars and butter
In a large mixing bowl, cream together that soft, dreamy butter with granulated sugar and brown sugar until the mixture looks light and fluffy—think of it as cloud happiness in a bowl!
Step 3: Incorporate the eggs and vanilla
Add the eggs one at a time, ensuring each one is well mixed before adding the next. Finish off with the two teaspoons of vanilla extract, and let that sweet aroma fill your kitchen!
Step 4: Mix dry ingredients
In another bowl, whisk together the flour, baking soda, and salt. This is where the science of baking takes place! Gradually mix the dry ingredients into your wet mix just until combined. Don’t overdo it; we want your cookies to be soft and tender!
Step 5: Color the dough
Divide the dough into four equal portions and place each in a separate bowl. Add a different color of food coloring to each portion, mixing until you achieve vibrant colors that make you smile.
Step 6: Create tie-dye effect
Now comes the fun part! Take small pieces from each portion of colored dough and place them randomly on your prepared baking sheets. Using a toothpick, swirl the colors gently to create a fabulous tie-dye effect without overmixing. Remember, we’re aiming for a fun, artsy look!
Step 7: Bake and enjoy
Pop those beauties in the oven and bake for 10-12 minutes, or until the edges turn golden but the centers remain soft and delightful. Let them cool on the sheets for a few moments before transferring them to wire racks to cool completely. Now, gather your friends and family, and get ready for cookie paradise!
These Tie Dye Cookies are nothing short of a joyful experience. With their vibrant colors and delicious flavors, they’ve got the power to brighten any gathering. Enjoy every moment, bulk up those smiles, and savor each enticing bite!
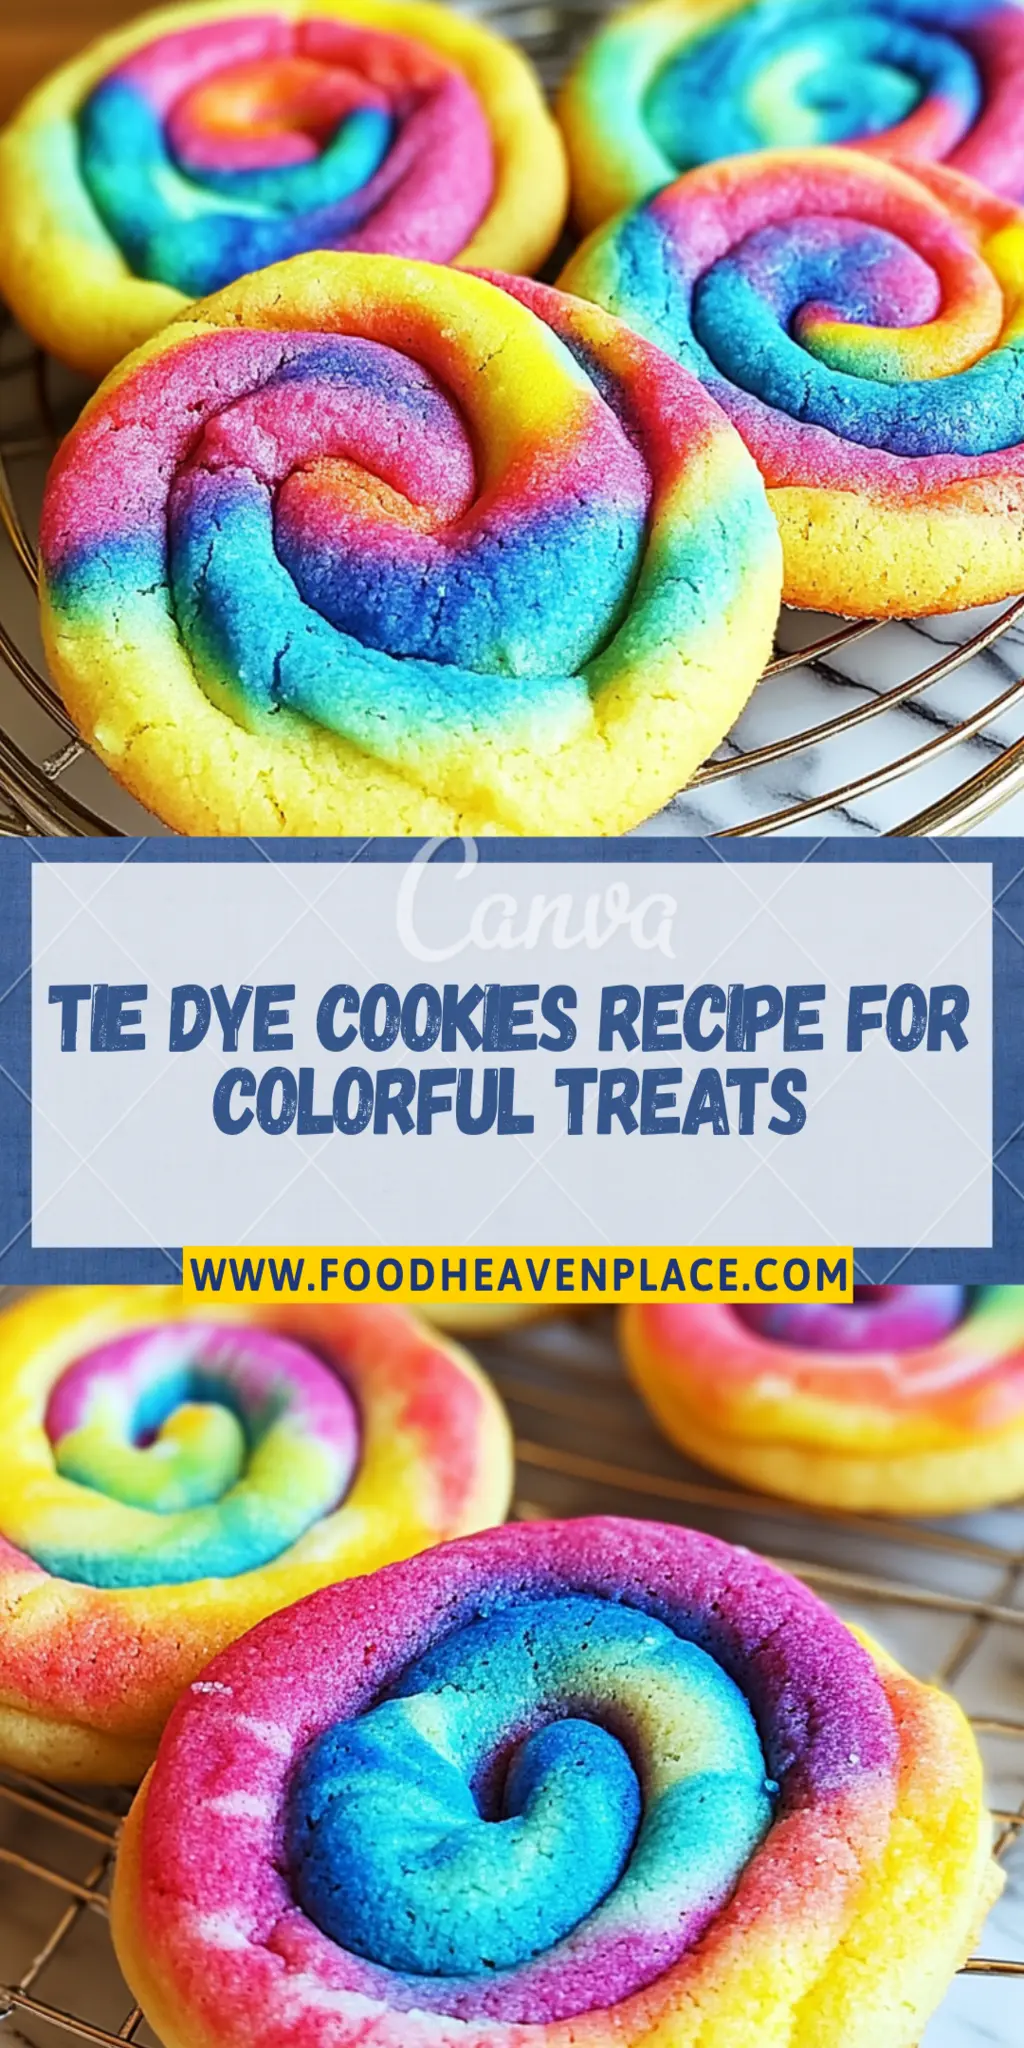
This showstopping Tie Dye Cookies delivers restaurant-quality results using simple ingredients you probably already have at home. The perfect balance of textures and flavors creates an unforgettable dining experience that will have everyone asking for seconds. Picture-perfect presentation with vibrant colors makes this dish absolutely Instagram-worthy and guaranteed to impress any dinner guest. Incredibly versatile recipe that works beautifully for weeknight dinners, meal prep, special occasions, or even outdoor entertaining sessions.
Perfecting Tie Dye Cookies Cooking Process
To achieve the best results with Tie Dye Cookies, start by creaming the butter and sugars, then mix in the eggs and vanilla. While that combines, whisk your dry ingredients in a separate bowl. Finally, incorporate the wet and dry mixtures together for an evenly mixed dough before adding the fun tie-dye colors.
Add Your Touch to Tie Dye Cookies
Feel free to get creative with your Tie Dye Cookies by swapping in different flavors of extracts, like almond or lemon. You can also try adding colorful sprinkles, nuts, or dried fruit to the dough for added texture and taste.
Storing & Reheating Tie Dye Cookies
Store your Tie Dye Cookies in an airtight container at room temperature for up to one week. If you want to enjoy them later, freeze the cookies in a single layer until solid, then transfer them to a freezer bag. Reheat in the microwave for a few seconds to regain their delightful softness.
Chef's Helpful Tips for Tie Dye Cookies
- This professional-quality Tie Dye Cookies relies on precise timing and temperature control to achieve restaurant-standard results consistently.
- Master the art of mise en place by prepping all ingredients beforehand, ensuring smooth execution and preventing any last-minute cooking disasters.
- The secret lies in layering flavors throughout the cooking process rather than seasoning only at the end for maximum depth.
- Pro tip: let the finished dish rest for optimal texture and flavor development before serving to hungry guests waiting eagerly.
When I made Tie Dye Cookies for a family gathering, the vibrant colors had everyone admiring their beauty before even taking a bite. My niece told me they tasted just like happiness, and that feedback made the effort so worth it!
FAQs About Tie Dye Cookies
What are Tie Dye Cookies?
Tie Dye Cookies are a fun and colorful twist on traditional cookies that feature vibrant swirls of different colors. This eye-catching treat is made by coloring portions of cookie dough with food coloring and then lightly swirling them together before baking. The result is a visually striking cookie perfect for parties, celebrations, or simply brightening up your day. These cookies not only look great but also taste delicious, combining the flavors of buttery dough and chocolate chips for a sweet treat that everyone will love.
How long do Tie Dye Cookies last?
Tie Dye Cookies can last up to a week when stored correctly. Keep them in an airtight container at room temperature to maintain their freshness. If you want to enjoy them for a longer period, you can freeze the cookies. Place them in a single layer on a baking sheet to freeze them individually. Once solid, transfer them to a freezer bag for up to three months. Reheat in the microwave for a few seconds to restore their chewy goodness when you’re ready to indulge!
Can I customize my Tie Dye Cookies?
Absolutely! One of the best parts about Tie Dye Cookies is how versatile they are. You can experiment with different flavors by adding extracts like almond or lemon, or mix in fun add-ins like sprinkles, nuts, or dried fruits. Go ahead and unleash your creativity with fun color combinations too. Imagine a swirling mix of neon greens, blues, pinks, and yellows; the possibilities are as endless as your imagination!
Are Tie Dye Cookies hard to make?
Not at all! Tie Dye Cookies are surprisingly easy to make, making them a fantastic activity for both seasoned bakers and beginners. The process involves simple mixing of basic ingredients like flour, butter, and sugar, followed by the fun part of adding color. A few steps later, they’re ready to bake. With just a little patience and creativity, you’ll have a batch of beautiful cookies that’ll impress everyone who sees (and tastes) them.
Conclusion for Tie Dye Cookies
In summary, Tie Dye Cookies are not only vibrant and fun but also incredibly simple to make. With a minimal ingredient list and basic steps, anyone can whip up these delightful treats. Their colorful appearance and delicious taste make them the perfect addition to any occasion. So next time you’re in the mood for some baking, don’t forget about these fantastic Tie Dye Cookies that are sure to bring smiles to everyone’s faces! Enjoy mixing up colors and flavors, and watch your loved ones delight in these scrumptious goodies.

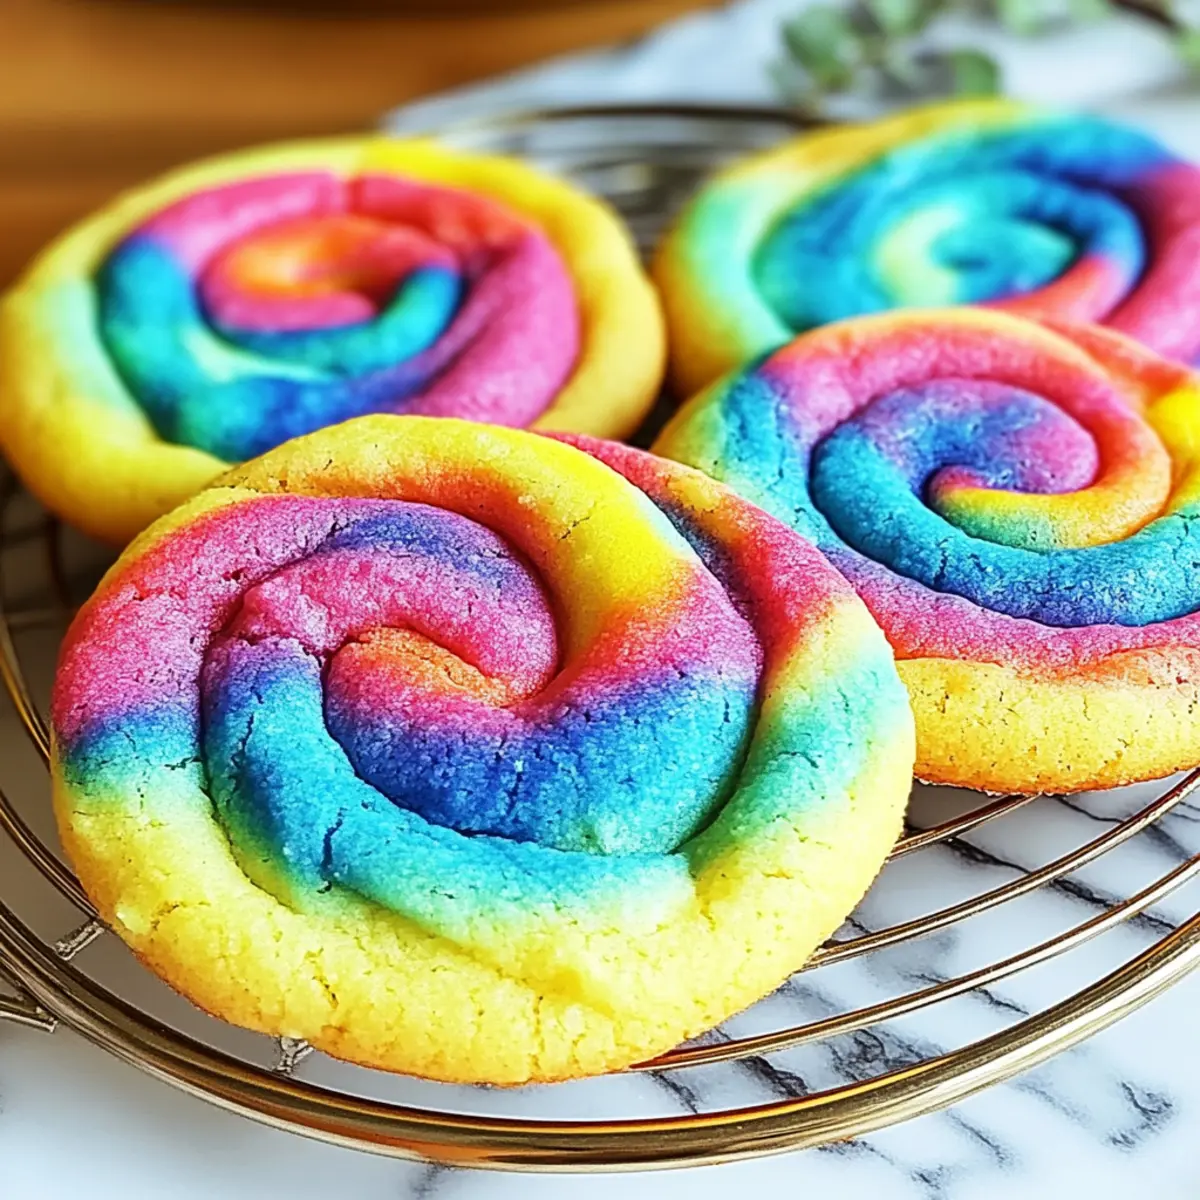
Tie Dye Cookies
Ingredients
Equipment
Method
- Preheat oven to 350°F (175°C) and line two baking sheets with parchment paper.
- In a large bowl, cream together softened butter, granulated sugar, and brown sugar until light and fluffy.
- Beat in eggs one at a time followed by vanilla until well combined.
- In another bowl, whisk together flour, baking soda, and salt; gradually mix into wet ingredients until just combined.
- Divide dough into four portions and mix different food coloring into each portion to create vibrant colors.
- Take small pieces from each colored dough and place randomly onto prepared baking sheets; swirl with a toothpick for tie-dye effect without overmixing.
- Bake for 10-12 minutes or until edges are golden and centers are soft; let cool on baking sheets briefly before transferring to wire racks.