
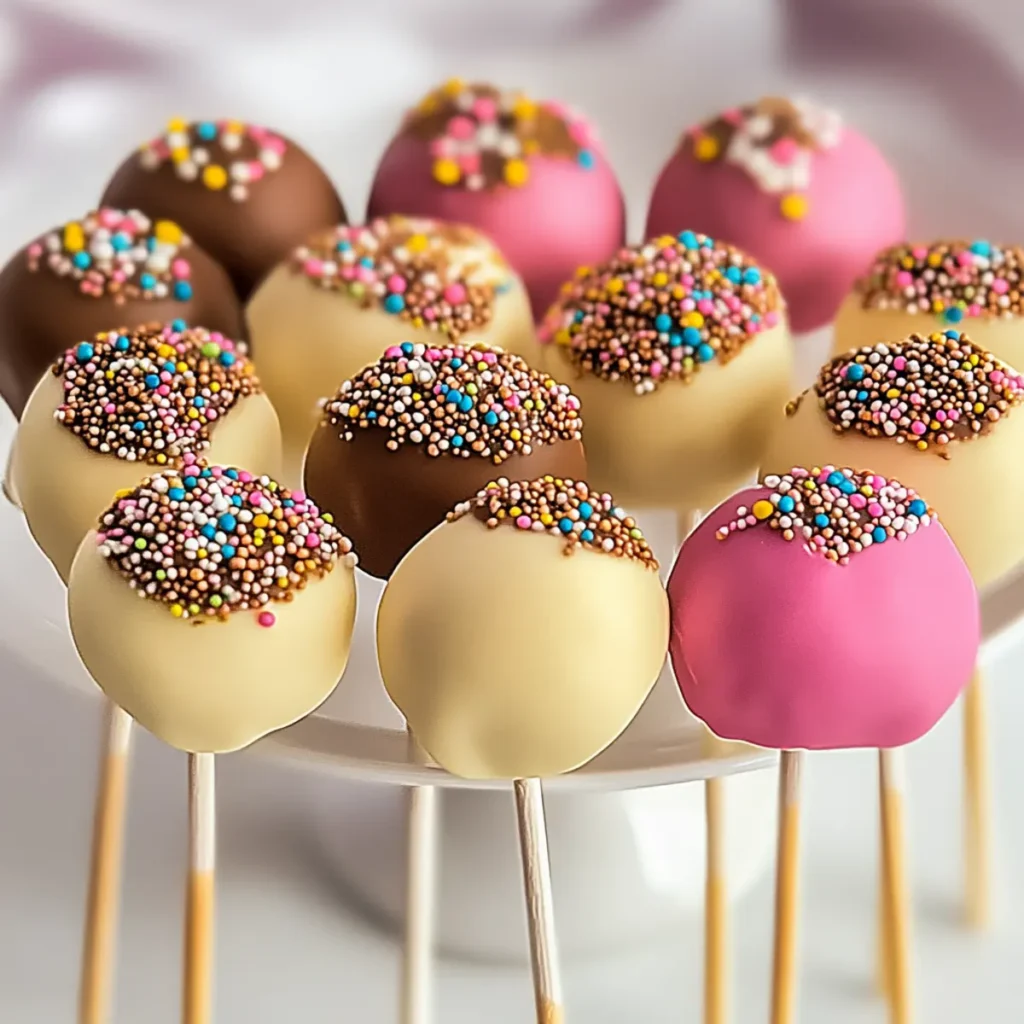
Classic Cake Pops are like little bites of happiness on a stick, coated in chocolate and sprinkled with joy. Imagine the first bite that unveils moist cake paired with creamy frosting, all enveloped in a delightful chocolate shell that shimmers. It’s a whirlwind of flavor and texture that transforms an ordinary day into an extraordinary celebration.
I remember the first time I made these Classic Cake Pops. I was supposed to bring dessert to a friend’s birthday party, and panic set in. A cake? Too predictable. Cupcakes? Everyone does that. But these little pops of joy? They instantly became a hit! Whether you’re celebrating a birthday, an anniversary, or just the fact that it’s Tuesday, Classic Cake Pops are the way to go. They’re fun to make, a treat to eat, and perfect for sharing (or not—no judgment here).
Why You'll Love This Classic Cake Pops
- This incredible Classic Cake Pops transforms simple everyday ingredients into restaurant-quality flavors that will blow your mind completely.
- Foolproof recipe techniques guarantee perfect results every single time, making even novice cooks feel like professional chefs instantly.
- Stunning visual appeal with gorgeous colors and mouthwatering aromas creates the ultimate Instagram-worthy dish for any special occasion.
- Endlessly adaptable for different dietary needs while working beautifully for meal prep, date nights, or entertaining large groups effortlessly.
Ingredients for Classic Cake Pops
Here’s what you’ll need to make this delicious Classic Cake Pops:
1 cup baked cake – You can use any flavor you love; chocolate, vanilla, or red velvet all work beautifully. Just be sure it’s cooled and crumbled.
1/2 cup frosting – Cream cheese or buttercream frosting adds that needed moisture and sweetness. You can match it with your cake flavor for extra fun!
1 cup chocolate melts – These sugary discs melt into a smooth coating. Choose milk, dark, or white chocolate according to your cravings.
10 lollipop sticks – These are essential for transforming cake into a pop! Find fun colored ones for a festive touch.
1/4 cup sprinkles or decorations (optional) – Because what’s a cake pop without a bit of sparkle? Use your favorite colors and shapes to dress them up.
How to Make Classic Cake Pops
Follow these simple steps to prepare this delicious Classic Cake Pops:
Step 1: Crumble the Cake
Start by crumbling the baked cake into fine crumbs in a large bowl. This is where the magic begins, so make sure your cake is cooled down. It helps the frosting mix in seamlessly!
Step 2: Mix in the Frosting
Add the frosting to the bowl with the crumbled cake. Mix thoroughly until everything is blended together and can hold its shape when pressed. It should feel like a delectable play-dough.
Step 3: Shape the Cake Balls
Now, roll the cake mixture into small balls about 1 inch in diameter. Place them on a lined baking sheet, allowing some space between each pop so they don’t stick together.
Step 4: Insert the Lollipop Sticks
Melt a small portion of chocolate melts according to package directions. Dip one end of each stick into the melted chocolate, then insert it halfway into each cake ball. This step is crucial to keep those sticks from falling out later!
Step 5: Chill the Cake Pops
Pop the baking sheet into the refrigerator for about an hour. This chilling time allows the cake pops to firm up nicely, ensuring they stay intact while being coated.
Step 6: Coat the Cake Pops
Melt the remaining chocolate melts, then dip each cake ball into the melted chocolate until fully coated. While the chocolate is still wet, sprinkle your favorite decorations or sprinkles on top for that added flair.
Step 7: Set the Pops to Dry
To finish, set the cake pops upright in a piece of foam or a stand for them to dry completely. This prevents them from losing their charming round shape. Once set, they’re ready to impress!
Serve these Classic Cake Pops at your next celebration and watch smiles bloom all around as everyone bites into these whimsical treats. Whether they grab one or two (or oh, let’s be real, three), each pop delivers a delightful explosion of flavors and textures in every bite. Enjoy making memories along with your pops; after all, cooking is as much about love as it is about the food itself!

This showstopping Classic Cake Pops delivers restaurant-quality results using simple ingredients you probably already have at home. The perfect balance of textures and flavors creates an unforgettable dining experience that will have everyone asking for seconds. Picture-perfect presentation with vibrant colors makes this dish absolutely Instagram-worthy and guaranteed to impress any dinner guest. Incredibly versatile recipe that works beautifully for weeknight dinners, meal prep, special occasions, or even outdoor entertaining sessions.
Perfecting Classic Cake Pops Cooking Process
To achieve the best results with Classic Cake Pops, start by crumbling the cooled cake finely. Mix in the frosting and form the mixture into balls. Prepare the chocolate coating last so it’s fresh and warm for dipping.
Add Your Touch to Classic Cake Pops
Customize your Classic Cake Pops by using different cake flavors, such as chocolate, vanilla, or lemon. You can also swap out the frosting for fruit preserves for a unique flavor twist or experiment with colorful coatings and decorative toppings.
Storing & Reheating Classic Cake Pops
For optimal freshness, store Classic Cake Pops in an airtight container in the refrigerator. They can be enjoyed cold but can also be left at room temperature for some time before serving.
Chef's Helpful Tips for Classic Cake Pops
- This professional-quality Classic Cake Pops relies on precise timing and temperature control to achieve restaurant-standard results consistently.
- Master the art of mise en place by prepping all ingredients beforehand, ensuring smooth execution and preventing any last-minute cooking disasters.
- The secret lies in layering flavors throughout the cooking process rather than seasoning only at the end for maximum depth.
- Pro tip: let the finished dish rest for optimal texture and flavor development before serving to hungry guests waiting eagerly.
Creating Classic Cake Pops for the first time brought back so many childhood memories of baking with my mom. We’d giggle over frosting fights, not realizing we were crafting something that would spark joy at every party.
FAQs About Classic Cake Pops
What are Classic Cake Pops?
Classic Cake Pops are delightful bite-sized treats made from crumbled cake mixed with frosting, shaped into small balls, and coated in melted chocolate. These festive snacks are perfect for any celebration, whether it’s a birthday party, wedding, or just a fun evening at home. Their charm lies in their versatility, allowing you to use any cake flavor you fancy, from rich chocolate to zesty lemon. Plus, they are customizable with sprinkles, nuts, or decorative toppings, making them not just delicious but also visually appealing.
How do I make Classic Cake Pops?
Making Classic Cake Pops is a simple yet rewarding process. First, crumble your cooled baked cake into fine crumbs in a bowl. Next, mix in your choice of frosting until the mixture can hold shape. Roll this mixture into small balls and chill them briefly. After that, dip lollipop sticks into melted chocolate and insert them into the balls. Finally, coat each ball in melted chocolate and add sprinkles for a pop of color. Let them set upright before serving them to your eager guests.
Can I customize my Classic Cake Pops?
Absolutely! One of the best aspects of Classic Cake Pops is their customizability. Feel free to experiment with various cake flavors, such as vanilla, red velvet, or carrot. You can even swap the frosting for fruit jam to create a fruity surprise inside. When it comes to decorations, the sky’s the limit; consider using colored chocolate coatings or edible glitter for added flair. Personalizing these treats ensures that they will be a hit at any celebration!
How should I store Classic Cake Pops?
To keep your Classic Cake Pops fresh, store them in an airtight container in the refrigerator. They can be enjoyed cold right out of the fridge, or you can let them sit at room temperature for a bit before serving. If you wish to extend their shelf life, these cake pops can be frozen for later enjoyment. Just ensure they are well-covered, and allow them to thaw slowly in the fridge when you’re ready to eat them again.
Conclusion for Classic Cake Pops
Classic Cake Pops are the perfect dessert for any occasion, combining fun and creativity with rich, satisfying flavors. Easy to make and customize, they can delight guests young and old. Whether you’re baking for a birthday party or just want a sweet treat for yourself, these bite-sized wonders are sure to impress. Remember, the beauty of Classic Cake Pops lies not only in their taste but also in how you present them. So roll up your sleeves and get baking—your next gathering won’t be complete without these crowd-pleasers!
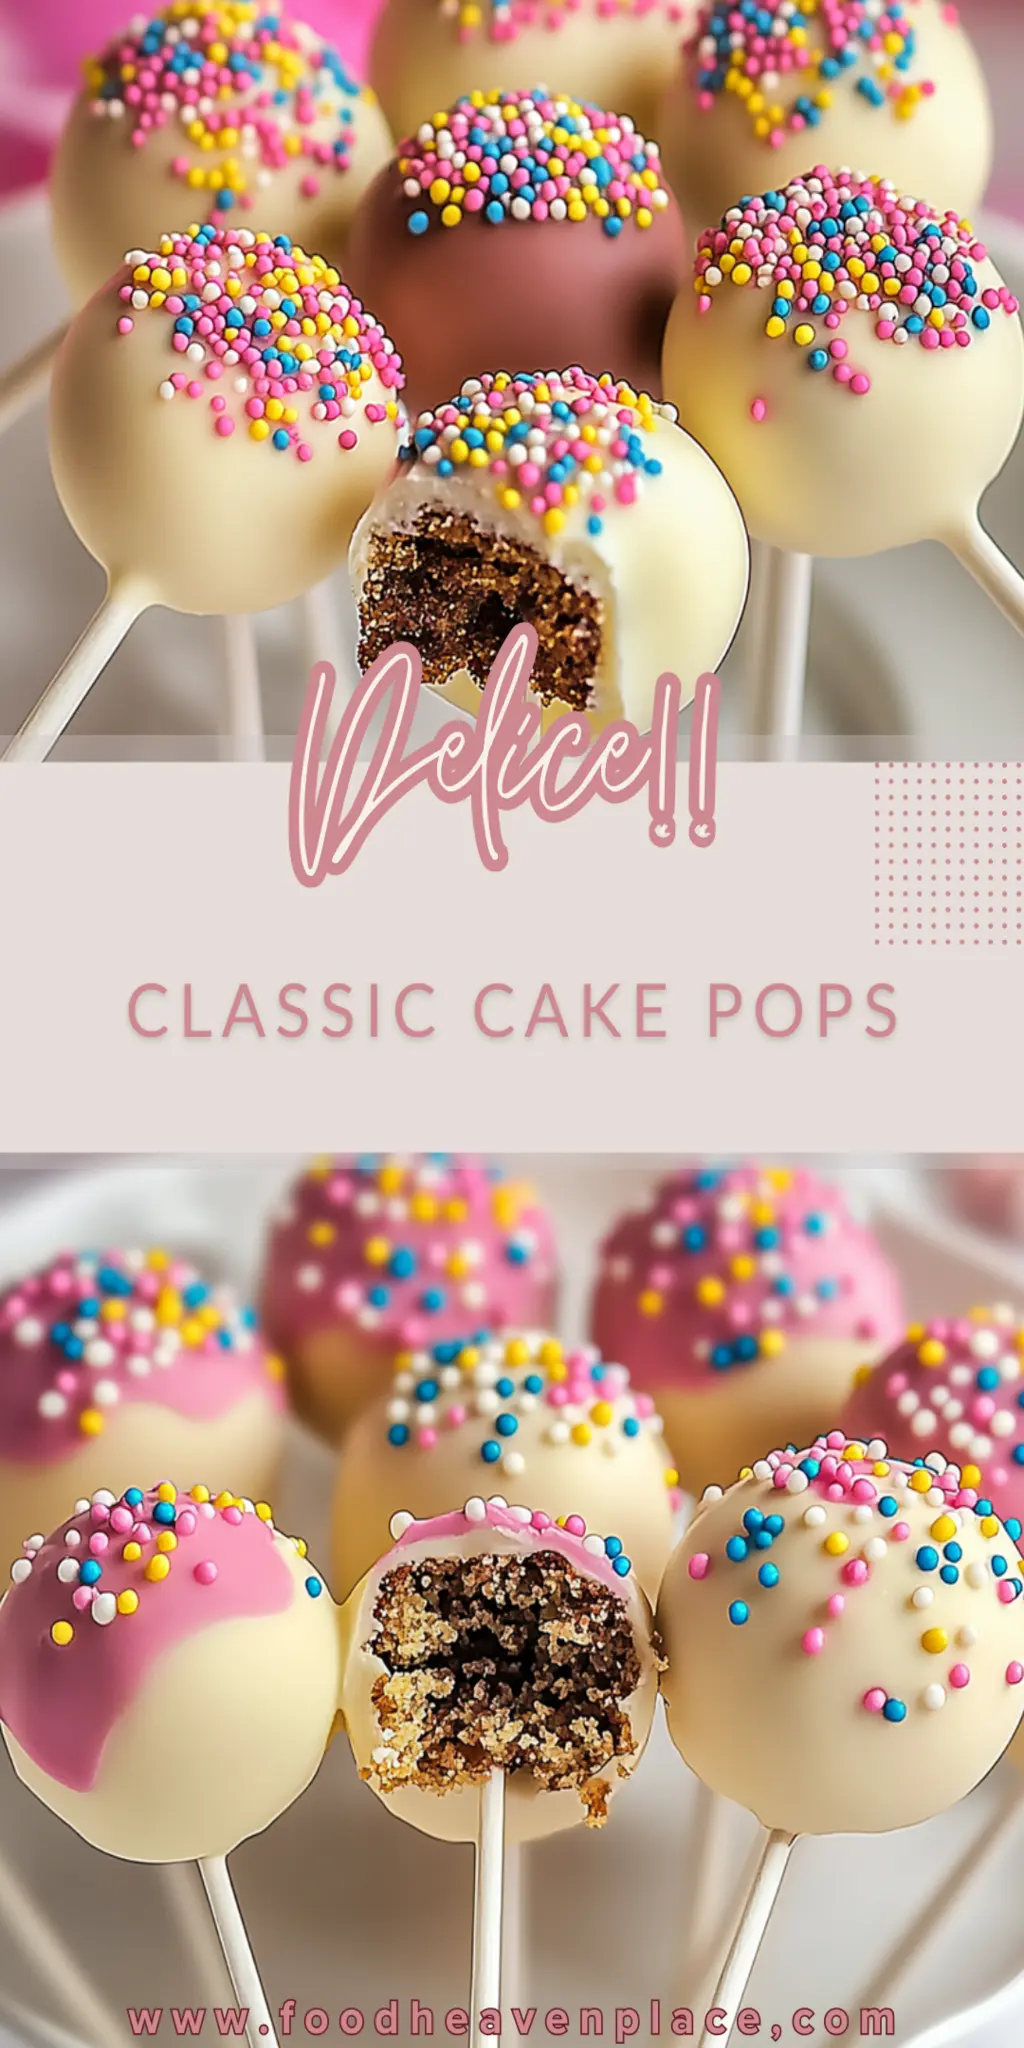
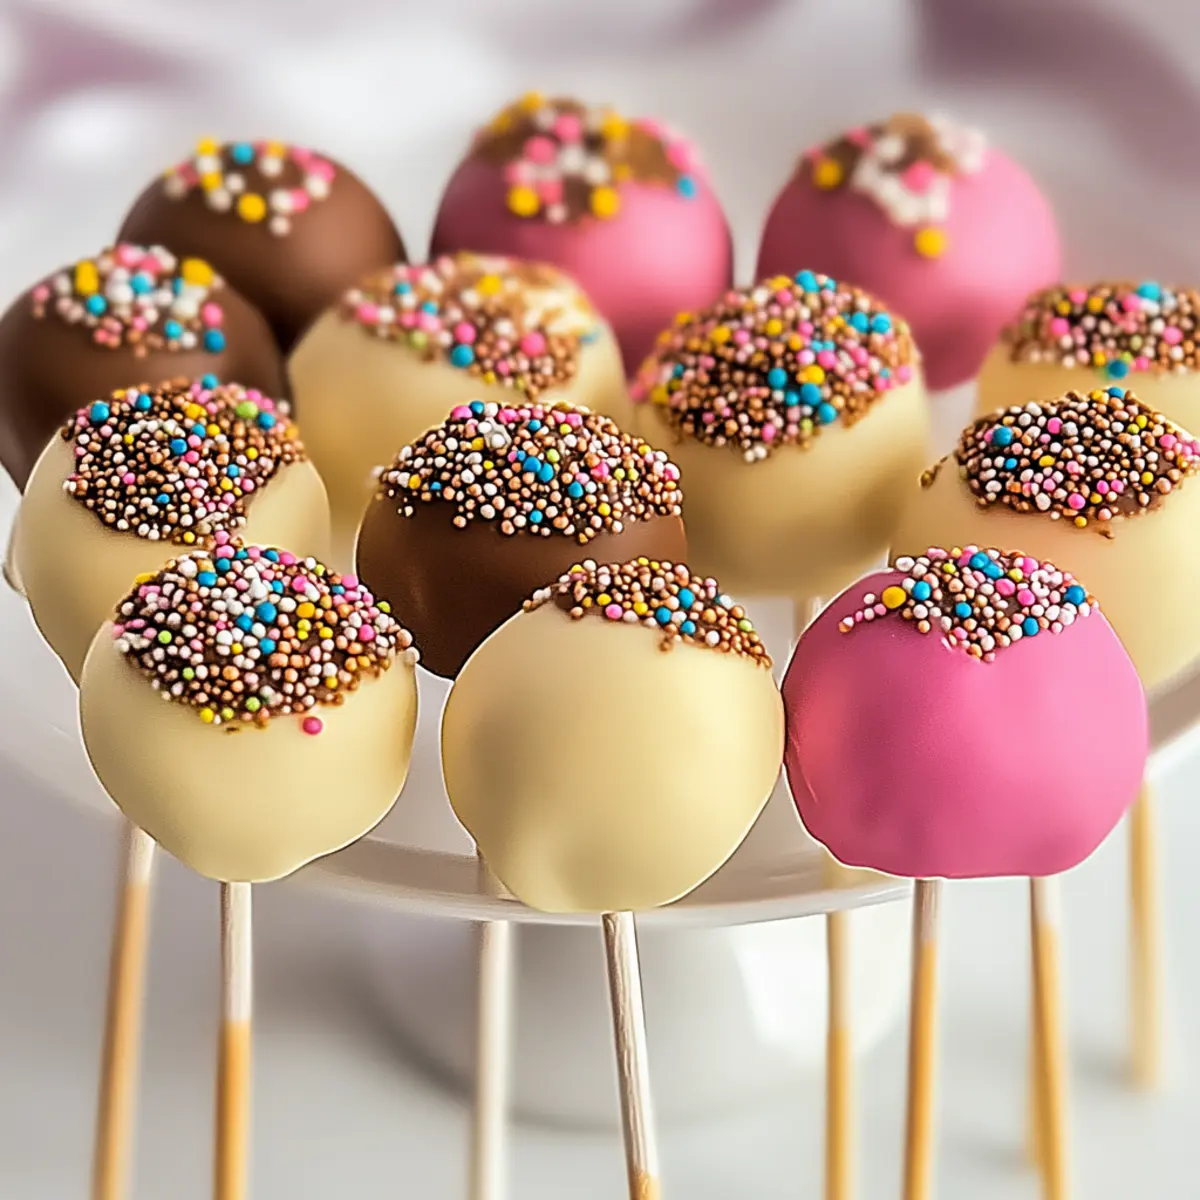
Classic Cake Pops
Ingredients
Equipment
Method
- Crumble the cooled baked cake into fine crumbs in a large bowl.
- Mix in the frosting until well combined and holds together when pressed.
- Roll the mixture into small balls (about 1 inch in diameter) and place them on a lined baking sheet.
- Melt a small amount of chocolate melts; dip one end of each lollipop stick into the melted chocolate and insert it halfway into each ball.
- Chill the cake balls in the refrigerator for about an hour until firm.
- Dip each pop into melted chocolate until fully coated, then add sprinkles while still wet.
- Allow to set upright in foam or a stand before serving.